How to Make Homemade Candles: The Ultimate Beginner’s Guide (on a Budget)
There’s something magical about the soft flicker of a candlelight glow. Beyond their decorative charm, candles create a calming atmosphere and can even help lift your mood—a principle deeply rooted in Feng Shui. While buying candles from specialty shops or supermarkets is easy, it’s not always budget-friendly. The good news? Making candles at home is surprisingly simple, cost-effective, and deeply satisfying. With a few basic tools and the right wax, you can create customized, professional-quality candles in just a few hours.
This guide will walk you through everything you need to know, from essential supplies to step-by-step instructions, tips for better results, and why soy wax is one of the best choices for DIY candle-making.
Why Choose Soy Wax?
If there’s one ingredient you should invest in, it’s high-quality wax. While paraffin is widely available, soy wax is increasingly popular among DIY enthusiasts because it’s natural, eco-friendly, and burns cleaner. Unlike paraffin, which is petroleum-based and produces more soot, soy wax offers a slow, even burn and helps fragrances linger longer. It’s also vegan-friendly and perfect for those who want a more sustainable option.
Soy wax often comes in small pellet form, which makes it easy to measure, melt, and handle. A 2-kilogram bag can be found for around €14.70 on Amazon, making it both affordable and practical for beginners.
What You’ll Need
Before you start, gather your supplies. Some items are optional, but a few are absolutely essential:
- Wax: Soy wax is recommended for beginners.
- Molds or containers: Glass jars, ceramic mugs, or specialized candle molds.
- Wicks: Choose eco-friendly cotton or paper wicks for a cleaner burn.
- Fragrances and colorants (optional): Essential oils, candle dyes, or natural tints.
- Double boiler setup: For safely melting wax.
- Cooking thermometer: To monitor temperature.
- Stirring tool: A wooden stick or spoon.
- Clips or tape: To hold wicks in place.
Step-by-Step Guide to Making Homemade Candles
- Prepare Your Workspace
Clear a flat surface and gather all tools and ingredients. Cover your workspace with newspaper or parchment paper for easy cleanup. - Melt the Wax Safely
Use a double boiler (a heatproof bowl over simmering water) to melt the wax slowly. Avoid direct heat, which can cause wax to burn or discolor. Stir occasionally as it melts. - Customize Your Wax
Once the wax has fully melted, add your chosen colorants and stir well. If you plan to use fragrance oils, add them at the end to prevent evaporation. A safe ratio is 6-10% fragrance oil per 100 grams of wax. - Prepare the Wick
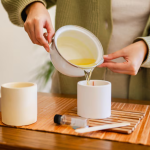
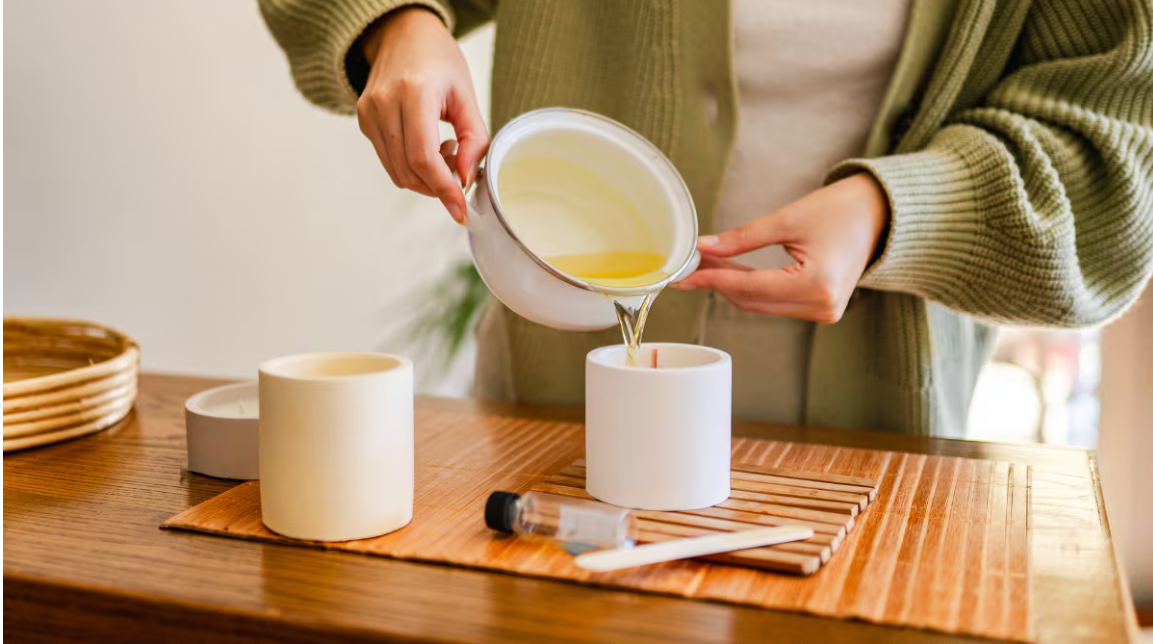
While your wax is melting, secure the wick at the bottom of your container. You can use double-sided tape or hot glue to keep it centered. Stretch the wick taut by securing it with a clothespin or chopsticks laid across the top of the container. - Pour the Wax
Pour a small amount of wax into your container to set the wick in place. Once it cools slightly, fill the container with the remaining wax, leaving about 1 centimeter at the top. - Cool and Set
Place the candles in a cool, dry spot to solidify. Let them rest for at least 2–6 hours, but overnight curing ensures a fully hardened candle. - Trim and Enjoy
Once fully cooled, trim the wick to about 0.5 centimeters. Your homemade candle is now ready to light!
Expert Tips for a Professional Finish
- Center the Wick: A simple hack is to attach the wick to the bottom with tape and hold it in place with a clothespin.
- Choose the Right Wax Type: Low-melting-point wax is ideal for container candles, while high-melting-point wax works better for freestanding candles.
- Get Creative with Containers: Instead of buying molds, repurpose household items like teacups, mason jars, or decorative bowls.
- DIY Fragrance Blends: Create your own scents using dried herbs, citrus peels, or spices for a unique aroma.
- Safety First: Always wear gloves when handling hot wax, and never leave melting wax unattended.
Why Soy Wax is a Game-Changer
Soy wax is perfect for beginners because it’s forgiving, easy to handle, and environmentally friendly. Here’s why candle makers love it:
- Natural and Non-Toxic: Made from soybeans, it produces fewer pollutants.
- Lower Melting Point: Easier to work with and perfect for glass containers.
- Better Scent Throw: Holds fragrance oils well, enhancing the aroma.
- Longer Burn Time: Soy candles last longer than paraffin ones.
Frequently Asked Questions
Q: How much fragrance should I add?
A: Add 6–10 grams of fragrance per 100 grams of wax for a balanced scent.
Q: How long should candles cure before use?
A: Ideally, let them cure for 24 hours to ensure the wax fully solidifies and the scent stabilizes.
Q: Can I color candles naturally?
A: Yes! You can use spices like turmeric or cocoa powder, or even natural dyes, for a subtle tint.
Q: What type of wick is best?
A: Eco-friendly cotton or paper-core wicks are recommended for a cleaner, safer burn.
Q: How do I make freestanding candles?
A: Use high-melting-point wax and silicone molds so the candles can be removed once set.
Making candles at home isn’t just a way to save money; it’s a fun and creative hobby that lets you personalize scents, colors, and styles. With soy wax, quality wicks, and a few simple tools, you can craft beautiful, eco-friendly candles that rival store-bought versions—at a fraction of the price. Whether you want to create a relaxing atmosphere, give thoughtful handmade gifts, or start a small business, candle-making is an accessible craft for anyone willing to experiment.
So grab a bag of soy wax, a few containers, and let your creativity shine. With just a little time and care, your home will soon be filled with the warm, soothing glow of your very own handmade candles.